
Description
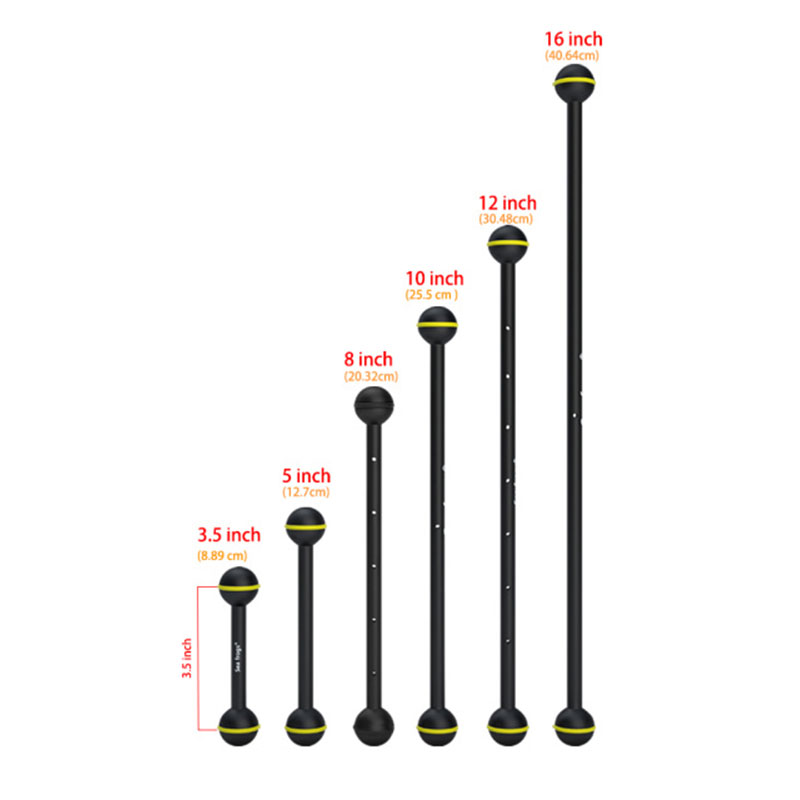
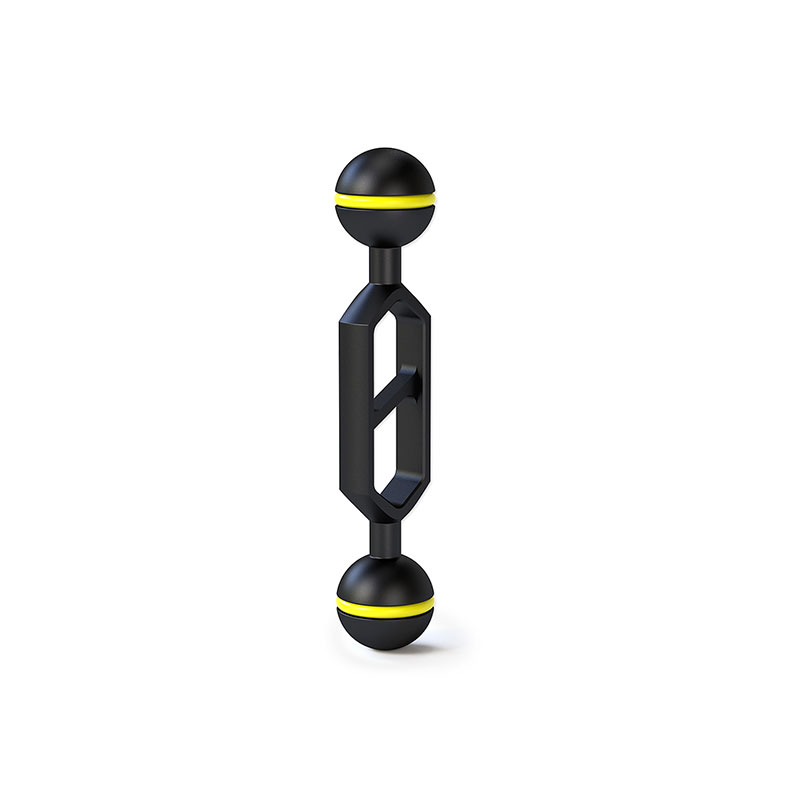
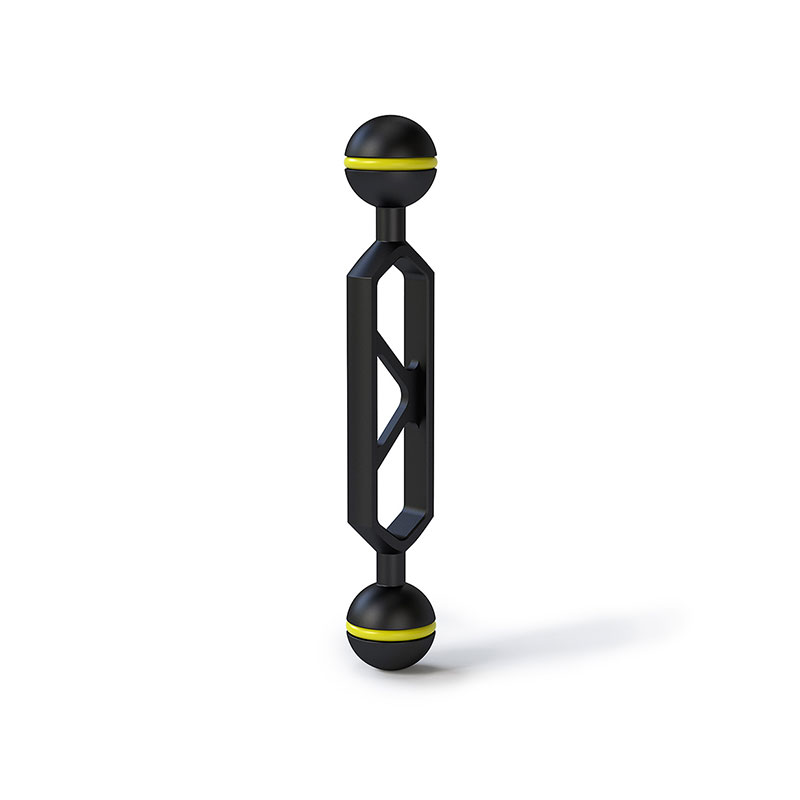
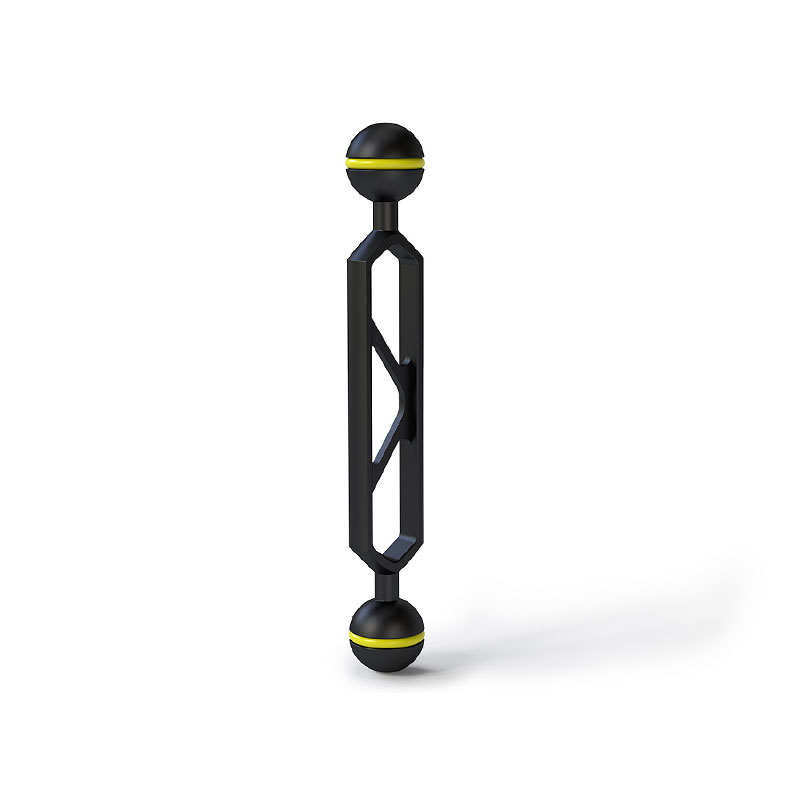
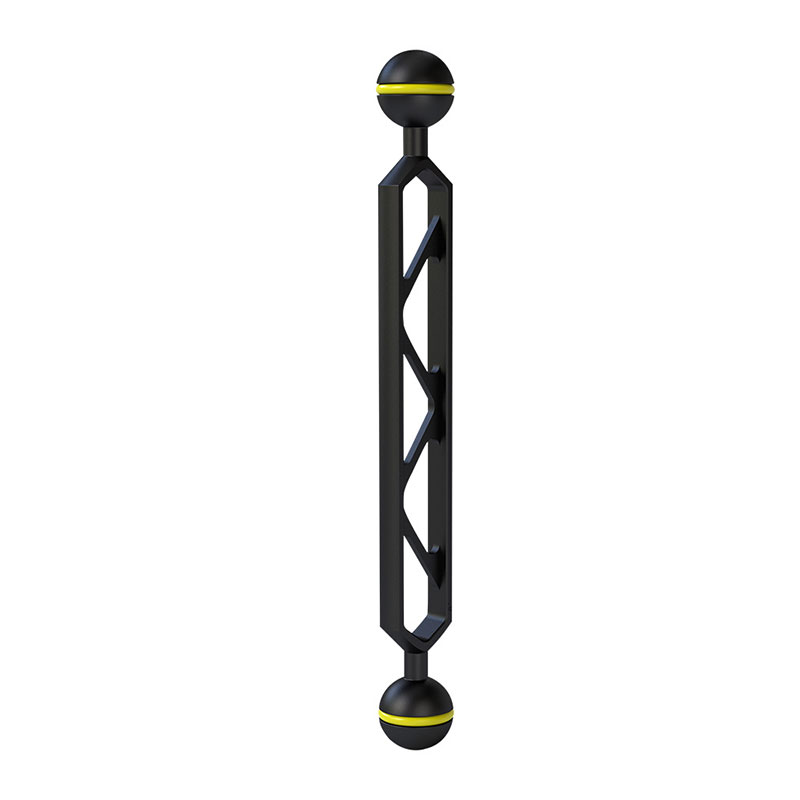
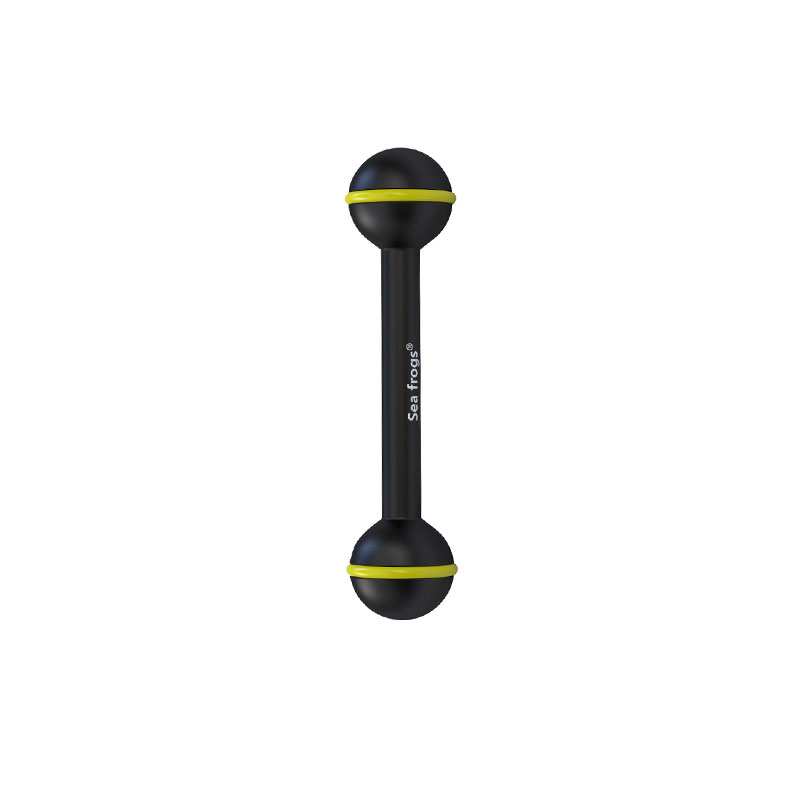
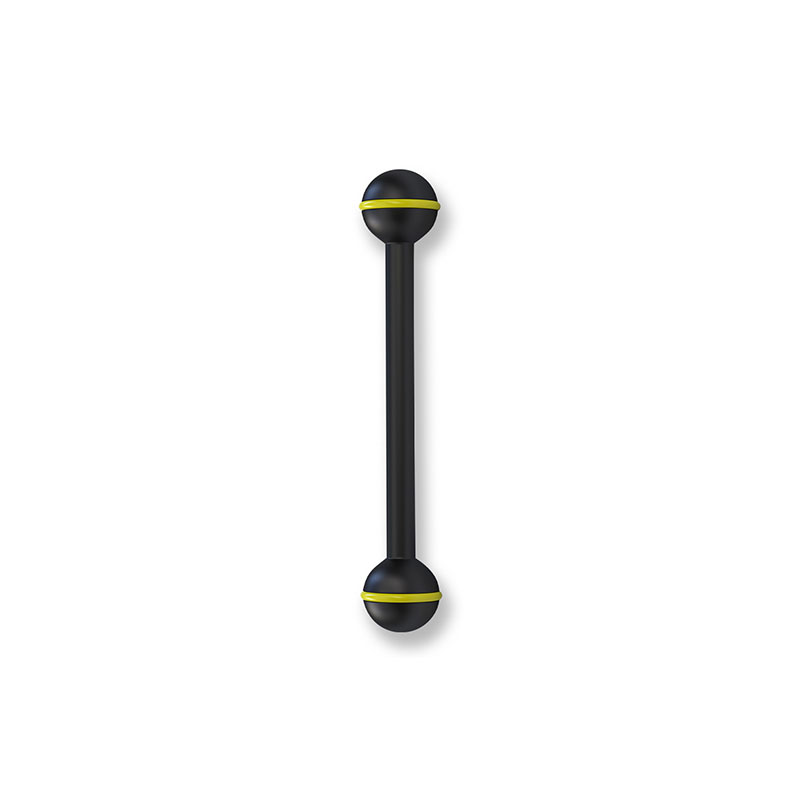
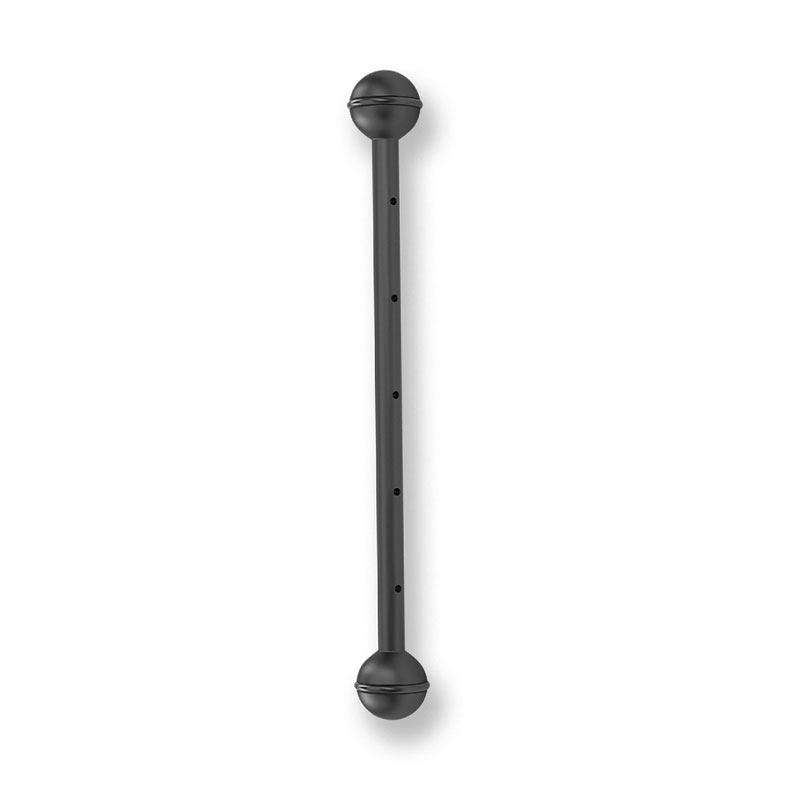
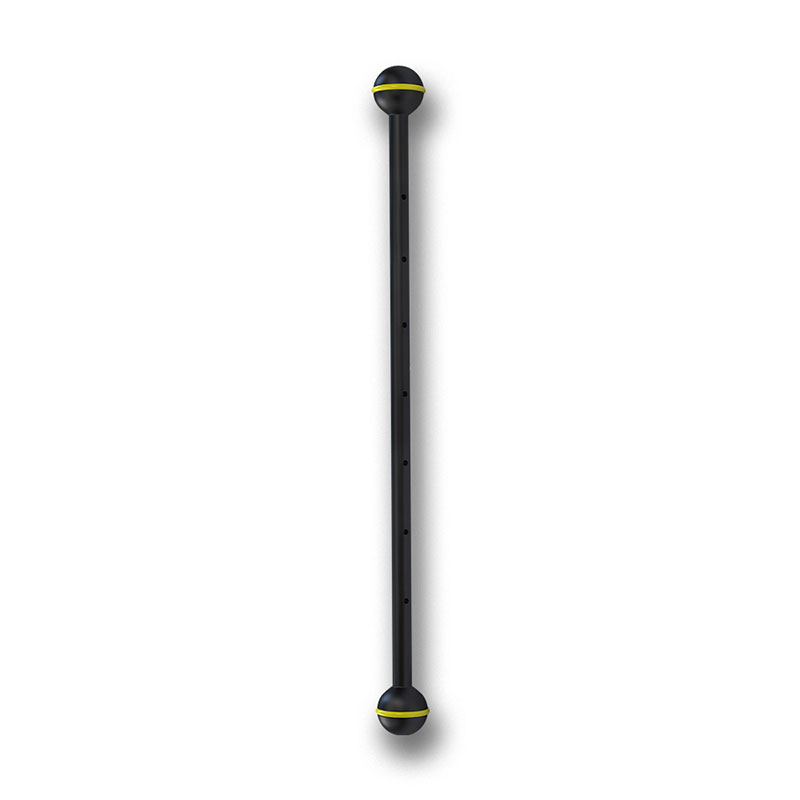
SeaFrogs Camera Arm Double_Ball
The available range of SeaFrogs Camera Arm Double_Ball is essential for stabilising your camera rig, positioning lights, and improving the overall quality of your underwater photos and videos. Here’s a step-by-step guide on how to use underwater camera arms effectively:
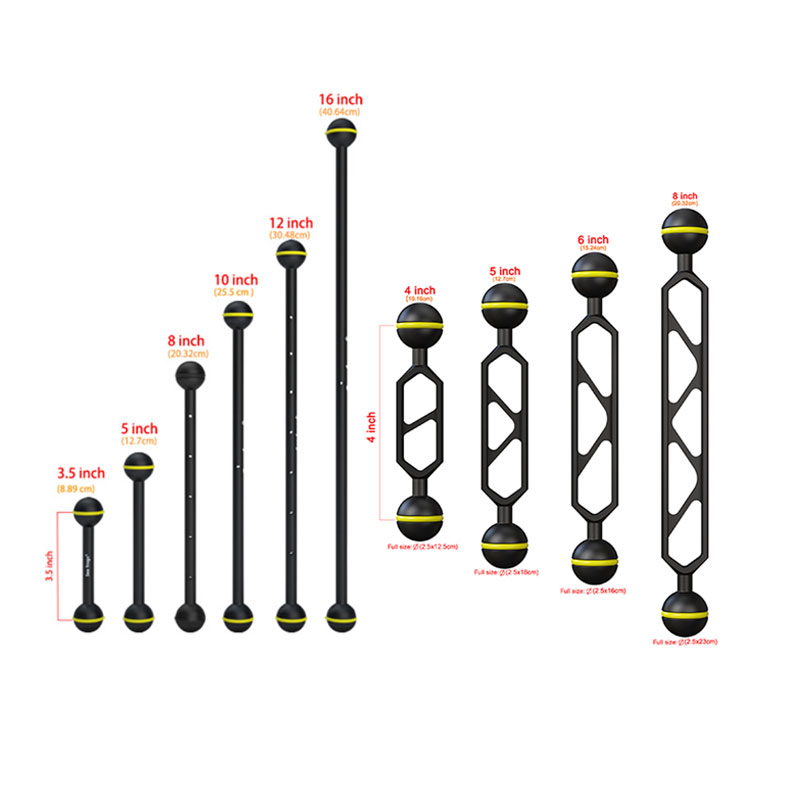
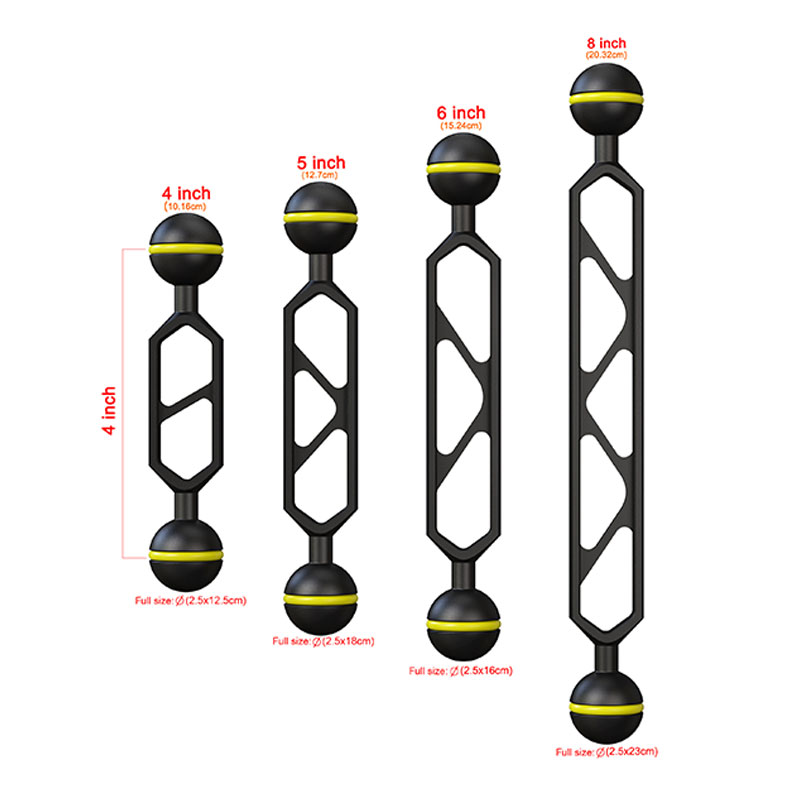
1. Choose the Right Size and Type of Arms
- Size and Length: Select arms of appropriate length for your needs. Longer arms offer more flexibility in positioning lights, while shorter arms provide more compact control. Choose based on how much gear you plan to attach (such as strobes, lights, or other accessories).
- Floatation: If you’re using heavier equipment, you may need float arms that provide additional buoyancy. This helps offset the weight of the camera rig and makes it easier to manoeuvre.
2. Attach the Arms to the Camera Housing
- Mounting Points: Most underwater camera housings have threaded holes or mounting points for attaching the arms. Attach the base of the arms to the housing using the provided mounts or clamps. Ensure that the arms are securely fastened to avoid any risk of them coming loose during your dive.
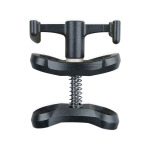
- Use Clamps: Once the arms are attached, use clamps to secure them. Depending on the model, some systems may require multiple clamps to connect different components, such as lights or other accessories, to the arms.
3. Mount Lights, Strobes, or Other Accessories
- Positioning Lights: Attach your strobes or underwater lights to the end of the arms. This allows you to place the lights at the desired angle and distance from the camera. Adjust the arm length or positioning to get the best lighting setup for your shot.
- Adjust for Optimal Lighting: Lights should be positioned to minimise shadows and illuminate the subject effectively. If you’re photographing marine life or coral, make sure the lights are angled to bring out the natural colours and details.
- Additional Accessories: If you’re using other accessories like microphones or small cameras, attach them to additional mounts on the arms. Some systems include extra mounting points for adding multiple lights or even a GoPro or other devices.
4. Adjust for Buoyancy
- Floatation Elements: If you have float arms (those with built-in buoyancy), check that they provide the right amount of floatation to balance your camera rig. You may need to experiment with the number of floatation modules or the size of the arms to achieve perfect buoyancy.
- Balance the Rig: The goal is to keep the camera rig neutrally buoyant, so it neither floats to the surface nor sinks. You want it to stay in place when held underwater, making it easier to control the camera and reduce hand fatigue.
- Fine-tuning: If the camera rig is too heavy, add more flotation. If it’s too light, reduce flotation elements.
5. Position the Camera
- Stabilising: Once the arms are attached and lights positioned, the camera rig should feel more stable. Hold the camera using the handles, and use the arms to adjust the lighting position without needing to hold the lights directly.
- Achieving Steady Shots: The arms help prevent the camera from tilting or spinning, especially when underwater currents are present. With the arms and lights securely positioned, you’ll have greater control over your framing and exposure.
6. Use the Arms to Fine-tune Lighting
- Lighting Angles: The primary function of the arms is to position external lights. Adjust the angle of the arms and lights to eliminate unwanted shadows and ensure that the light is hitting the subject from the most flattering direction.
- Wide Angle or Macro: For wide-angle shots, you may want to spread the arms out more to get light coverage over a larger area. For macro photography, the arms should be closer to the subject, providing more focused lighting.
7. Practice Handling the Rig
- Frequent Adjustments: While underwater, you’ll need to make small adjustments to the lighting and arm position as you move. Make sure to practice holding and adjusting the camera rig while submerged to get comfortable with how the arms and accessories affect the rig’s handling.
- Efficient Movement: Practice moving the rig smoothly to reduce the risk of creating unwanted camera shake. With the arms providing buoyancy, the camera should feel more balanced, making it easier to achieve stable shots without straining your hands or wrists.
8. Monitor for Safety and Gear Integrity
- Check for Leaks: Always ensure your camera housing is watertight and your arms are securely attached before entering the water. This prevents water damage and ensures the stability of the camera setup.
- Regular Inspections: Periodically check that the arms, mounts, and lights remain securely fastened, especially if you’re diving in challenging conditions or deep water.
Summary of Best Practices for Using Underwater Camera Arms:
- Choose the right arm size based on your needs for lighting and gear positioning.
- Ensure buoyancy by adjusting the floatation elements to balance the weight of your camera rig.
- Position lights effectively to avoid shadows and enhance subject details.
- Practice handling the rig to become more comfortable with adjusting lights and getting stable shots.
- Monitor equipment safety and make sure everything is securely attached to avoid losing or damaging gear.
By following these steps and using underwater camera arms effectively, you’ll be able to capture sharper, better-lit photos and videos while underwater, improving both the technical and creative aspects of your shots.